void linux mate qemu and Pipewire with Bluetooth Support install
-
david

- Site Admin
- Posts: 422
- Joined: Sat May 21, 2016 7:50 pm
void linux mate qemu and Pipewire with Bluetooth Support install

youtu.be/FRb-l2cBxz4
First download and install void base install.
Join our telegram group if you wana chat or have specific questions:
https://t.me/+h2K5CX5jEZA0MWJk
https://voidlinux.org/download/
void-live-x86_64-20240314-base.iso
Code: Select all
xbps-install xorg dbus avahi slim xf86-video-vmware slim mate mate-extra mate-control-center mate-utils mate-terminal atril eom engrampa mate-system-monitor caja-extensions mate-calc pluma mate-backgrounds mate-panel mate-applets mate-desktop mate-icon-theme mate-power-manager mate-screensaver mate-session-manager mate-settings-daemon mate-themes mate-tweak nano net-tools pavucontrol pulseaudio python3-dbusexec mate-session
nano /home/john/.xinitrc
exec mate-session
Code: Select all
ln -s /etc/sv/dbus /var/service/
ln -s /etc/sv/avahi /var/service/
ln -s /etc/sv/slim /var/service/
Enjoy fresh install void mate!
To Install network-manager we need to remove and add some services in "/var/service" directorty.
Code: Select all
xbps-install network-manager-applet
sv down dhcpcd
rm /var/service/dhcpcd
ln -s /etc/sv/NetworkManager /var/service/-
david
- Site Admin
- Posts: 422
- Joined: Sat May 21, 2016 7:50 pm
Re: void linux mate install
How to install qemu-kvm and pass gpu!
First, install dbus, qemu, libvirtd, and virt-manager.
Then link and enable the services.
Edit the dracut config.
Let say we have two gpu`s but one of them is RX560 that we want to pass to the VM:
Prevent RX 560 drivers from loading too early:
To activate the pass we need to add this to vfio .
Added the IDs to modprobe:
Rebuild initramfs:
Update GRUB
Reboot and check is vfio is active:
You must see : Kernel driver in use: vfio-pci
0a:00.0 VGA compatible controller [0300]: Advanced Micro Devices, Inc. [AMD/ATI] Baffin [Radeon RX 550 640SP / RX 560/560X] [1002:67ff] (rev cf)
Subsystem: Micro-Star International Co., Ltd. [MSI] Device [1462:8a91]
Kernel driver in use: vfio-pci
Kernel modules: amdgpu
0a:00.1 Audio device [0403]: Advanced Micro Devices, Inc. [AMD/ATI] Baffin HDMI/DP Audio [Radeon RX 550 640SP / RX 560/560X] [1002:aae0]
Subsystem: Micro-Star International Co., Ltd. [MSI] Device [1462:aae0]
Kernel driver in use: vfio-pci
Kernel modules: snd_hda_intel
First, install dbus, qemu, libvirtd, and virt-manager.
Code: Select all
xbps-install dbus qemu virt-manager bridge-utilsCode: Select all
xbps-install -S binutils mksh keyutils busybox dmraid ntfs-3g pcsc-tools tpm2-tools nvme-cliThen link and enable the services.
Code: Select all
ln -s /etc/sv/dbus /var/service
ln -s /etc/sv/libvirtd /var/service
ln -s /etc/sv/virtlockd /var/service
ln -s /etc/sv/virtlogd /var/service
ln -s /etc/sv/polkitd /var/service
Let say we have two gpu`s but one of them is RX560 that we want to pass to the VM:
Code: Select all
nano /etc/dracut.conf.d/vfio.conf

add_drivers+=" vfio vfio_pci vfio_iommu_type1 "
install_items+=" /etc/modprobe.d/vfio.conf /etc/modprobe.d/blacklist-rx560.conf "
Code: Select all
sudo nano /etc/modprobe.d/blacklist-rx560.conf

softdep amdgpu pre: vfio-pci
softdep snd_hda_intel pre: vfio-pci
To activate the pass we need to add this to vfio .
Added the IDs to modprobe:
Code: Select all
nano /etc/modprobe.d/vfio.conf

options vfio-pci ids=1002:67ff,1002:aae0Code: Select all
sudo dracut -f Code: Select all
nano /etc/default/grub
GRUB_CMDLINE_LINUX_DEFAULT="quiet amd_iommu=on iommu=pt vfio-pci.ids=1002:67ff,1002:aae0"

update-grub Code: Select all
lspci -nnk0a:00.0 VGA compatible controller [0300]: Advanced Micro Devices, Inc. [AMD/ATI] Baffin [Radeon RX 550 640SP / RX 560/560X] [1002:67ff] (rev cf)
Subsystem: Micro-Star International Co., Ltd. [MSI] Device [1462:8a91]
Kernel driver in use: vfio-pci
Kernel modules: amdgpu
0a:00.1 Audio device [0403]: Advanced Micro Devices, Inc. [AMD/ATI] Baffin HDMI/DP Audio [Radeon RX 550 640SP / RX 560/560X] [1002:aae0]
Subsystem: Micro-Star International Co., Ltd. [MSI] Device [1462:aae0]
Kernel driver in use: vfio-pci
Kernel modules: snd_hda_intel
-
david
- Site Admin
- Posts: 422
- Joined: Sat May 21, 2016 7:50 pm
Re: void linux mate qemu install
Install cool open-GL efects with compiz!
[*] ccsm-0.8.18_6 Compiz Configuration Seetings Manager for Compiz Reloaded
[*] compiz-bcop-0.8.18_2 Compiz Reloaded bcop module
[*] compiz-core-0.8.18_3 Compiz Reloaded core module
[-] compiz-core-devel-0.8.18_3 Compiz Reloaded core module - development files
[*] compiz-plugins-experimental-0.8.18_1 Experimental plugins for Compiz Reloaded
[-] compiz-plugins-experimental-devel-0.8.18_1 Experimental plugins for Compiz Reloaded - development files
[*] compiz-plugins-extra-0.8.18_1 Extra plugins for Compiz Reloaded
[-] compiz-plugins-extra-devel-0.8.18_1 Extra plugins for Compiz Reloaded - development files
[*] compiz-plugins-main-0.8.18_1 Basic plugins for Compiz Reloaded
[-] compiz-plugins-main-devel-0.8.18_1 Basic plugins for Compiz Reloaded - development files
[*] compiz-reloaded-0.8.18_1 Compiz window manager meta-package
[*] compizconfig-python-0.8.18_7 Compiz configuration system library for Compiz Reloaded
[*] emerald-0.8.18_1 Compiz Reloaded native window decorator
[-] emerald-devel-0.8.18_1 Compiz Reloaded native window decorator - development files
[*] emerald-themes-0.8.18_2 Compiz Reloaded Emerald native window decorator themes
[*] libcompizconfig-0.8.18_14 Compiz Reloaded configuration system library
[-] libcompizconfig-devel-0.8.18_14 Compiz Reloaded configuration system libra
ccsm to configure the mate desctop efects
if you want to auto start add it to
nano ~/.xinitrc
emerald-theme-manager to select window decoration theme !
Code: Select all
xbps-query -Rs compiz[*] compiz-bcop-0.8.18_2 Compiz Reloaded bcop module
[*] compiz-core-0.8.18_3 Compiz Reloaded core module
[-] compiz-core-devel-0.8.18_3 Compiz Reloaded core module - development files
[*] compiz-plugins-experimental-0.8.18_1 Experimental plugins for Compiz Reloaded
[-] compiz-plugins-experimental-devel-0.8.18_1 Experimental plugins for Compiz Reloaded - development files
[*] compiz-plugins-extra-0.8.18_1 Extra plugins for Compiz Reloaded
[-] compiz-plugins-extra-devel-0.8.18_1 Extra plugins for Compiz Reloaded - development files
[*] compiz-plugins-main-0.8.18_1 Basic plugins for Compiz Reloaded
[-] compiz-plugins-main-devel-0.8.18_1 Basic plugins for Compiz Reloaded - development files
[*] compiz-reloaded-0.8.18_1 Compiz window manager meta-package
[*] compizconfig-python-0.8.18_7 Compiz configuration system library for Compiz Reloaded
[*] emerald-0.8.18_1 Compiz Reloaded native window decorator
[-] emerald-devel-0.8.18_1 Compiz Reloaded native window decorator - development files
[*] emerald-themes-0.8.18_2 Compiz Reloaded Emerald native window decorator themes
[*] libcompizconfig-0.8.18_14 Compiz Reloaded configuration system library
[-] libcompizconfig-devel-0.8.18_14 Compiz Reloaded configuration system libra
ccsm to configure the mate desctop efects
Code: Select all
compiz --replace &
emerald --replace &nano ~/.xinitrc
emerald-theme-manager to select window decoration theme !
-
david
- Site Admin
- Posts: 422
- Joined: Sat May 21, 2016 7:50 pm
Re: void linux mate and qemu install
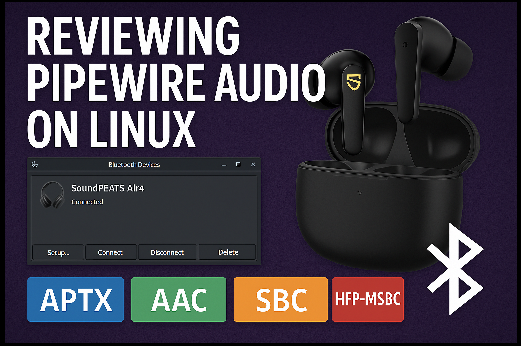
1. A2DP: (Advanced Audio Distribution Profile): A2DP enables high-quality stereo audio streaming for music playback from a source device to a sink (e.g., headphones) but typically doesn’t support audio input. It uses codecs like the default SBC for basic quality or advanced options like LDAC and AptX for superior sound. A2DP duplex channels, such as FastStream, AptX Low Latency, or PipeWire’s “Opus 05 Pro,” allow simultaneous microphone input without switching to lower-quality HSP/HFP, with PipeWire (unlike PulseAudio) automatically supporting this feature. AVRCP complements A2DP by providing remote control for media playback functions like play, pause, and skip.
2. HFP/HSP: (Hands-Free Profile/Headset Profile): HFP and HSP are Bluetooth profiles designed for voice communication, delivering mono audio for both input (microphone) and output (speaker). They enable hands-free calling and basic audio functions in devices like headsets and car systems. While reliable for voice, they offer lower sound quality compared to A2DP and are less power-efficient than newer standards like LE Audio.To get better voice over HFP new codec mSBC can be used.
mSBC: (modified Sub-Band Codec) is a specific codec used in the Hands-Free Profile (HFP) to improve voice quality in Bluetooth audio communication. It operates at a 16 kHz sampling rate, delivering clearer mono audio compared to the older CVSD codec, making it ideal for hands-free calls in headsets or car systems. mSBC is typically used in HFP 1.6 or later, requiring both devices to support it for optimal performance. While it enhances call clarity, it still consumes more power than modern standards like LE Audio and is limited to voice applications.
3. LE Audio: Introduced in 2020 as part of Bluetooth 5.2, LE Audio is a power-efficient standard that uses the LC3 codec to deliver high-quality audio at lower bitrates. It supports advanced features like Multi-Stream Audio for true wireless earbuds, Auracast for broadcasting to multiple devices, and enhanced hearing aid compatibility. LE Audio is more versatile and energy-efficient than traditional Bluetooth audio profiles like A2DP or HFP.
LE Audio, built on Bluetooth Low Energy, uses the LC3 codec to provide high-quality audio with lower power usage, making it ideal for devices like earbuds and hearing aids. It introduces features like Multi-Stream Audio for synchronized stereo, Auracast for sharing audio with multiple listeners, and improved accessibility. It’s a significant upgrade over older profiles like HFP, offering better efficiency and versatility for future audio applications.

Void linux bluetooth audio install.
On Void Linux, the package pipewire-pulse is not available as a separate package like on some other distros. Instead, Pipewire handles the PulseAudio replacement automatically through its main components. You need to configure Pipewire itself to manage PulseAudio.
Step Install PulseAudio with Bluetooth Support:
Code: Select all
xbps-install -S pulseaudio pulseaudio-utils pavucontrol bluez blueman sof-firmware
sudo ln -s /etc/sv/bluetoothd /var/service/
Code: Select all
xbps-install -S broadcom-bt-firmwareCode: Select all
xbps-install -S pipewire pipewire-devel alsa-pipewire wireplumber libspa-bluetooth

mkdir -p /etc/alsa/conf.d
ln -s /usr/share/alsa/alsa.conf.d/50-pipewire.conf /etc/alsa/conf.d/
ln -s /usr/share/alsa/alsa.conf.d/99-pipewire-default.conf /etc/alsa/conf.d/

mkdir -p ~/.config/pipewire
cp /usr/share/pipewire/pipewire.conf ~/.config/pipewire/
cp /usr/share/pipewire/pipewire-pulse.conf ~/.config/pipewire/
Find the line "autospawn" and make it "autospawn = no"
Make pipewire to autostart:
Code: Select all
mkdir -p ~/.config/pipewire/autostart

nano ~/.config/autostart/pipewire.desktop

[Desktop Entry]
Type=Application
Name=PipeWire
Exec=/usr/bin/pipewire
X-MATE-Autostart-enabled=true
Code: Select all
nano ~/.config/autostart/pipewire-pulse.desktop

[Desktop Entry]
Type=Application
Name=PipeWire PulseAudio Replacement
Exec=/usr/bin/pipewire-pulse
X-MATE-Autostart-enabled=true
Code: Select all
nano ~/.config/autostart/wireplumber.desktop

[Desktop Entry]
Type=Application
Name=PipeWire-wireplumber
Exec=/usr/bin/wireplumber
X-MATE-Autostart-enabled=true
and then test it:
Code: Select all
pactl infoLibrary Protocol Version: 35
Server Protocol Version: 35
Is Local: yes
Client Index: 42
Tile Size: 65472
User Name: void
Host Name: void
Server Name: PulseAudio (on PipeWire 1.2.3)
Server Version: 15.0.0
Default Sample Specification: float32le 2ch 48000Hz
Default Channel Map: front-left,front-right
Default Sink: @DEFAULT_SINK@
Default Source: @DEFAULT_SOURCE@
Cookie: 7676:4d26
youtu.be/wz1TqMbgQFk
Update How to enable LE audio!
I used exactly this MEDIATEK Wi-Fi/BT pci-e adapter + SoundPeats Air pro 4 Headphnes with firmware 0.1.9!
youtu.be/CcHb6NtXA-Y
Code: Select all
01:00.0 Network controller [0280]: MEDIATEK Corp. MT7921 802.11ax PCI Express Wireless Network Adapter [14c3:7961]
	Subsystem: AzureWave Device [1a3b:4680]
	Kernel driver in use: mt7921e
	Kernel modules: mt7921e
Edit bluerooth main.conf:
Code: Select all
sudo nano /etc/bluetooth/main.conf
Code: Select all
[General]
Enable=Source,Sink,Media,Socket,LE
Experimental=true
KernelExperimental=true
PreferredCodec = LC3
ControllerMode = le
mkdir -p ~/.config/wireplumber/bluetooth.lua.d
nano ~/.config/wireplumber/bluetooth.lua.d/50-bluez-config.lua
add
Code: Select all
bluez_monitor.properties = {
  ["bluez5.enable-le-audio"] = true,
  ["bluez5.preferred-codec"] = "lc3",
}
bluez_monitor.rules = {
  {
    matches = {
      { "device.name", "matches", "bluez_card.*" },
    },
    apply_properties = {
      ["audio.codecs"] = "lc3",
    },
  },
}
Is possible some configuration to be tested as we change main.conf and then restart
Code: Select all
sv restart /var/service/bluetoothdmkdir ~/.config/pipewire/pipewire.conf.d
nano ~/.config/pipewire/pipewire.conf.d/mic-left-only.conf
Code: Select all
context.modules = [
  {
    name = libpipewire-module-filter-chain
    args = {
      node.description = "BT Mic Left Only"
      media.name       = "BT Mic Left Only"
      filter.graph = {
        nodes = [
          {
            type = builtin
            name = copy-left
            label = copy
            control = {
              channel = 0
            }
          }
        ]
      }
      capture.props = {
        node.name = "bt-mic-in"
        node.target = "bluez_input.98_80_BB_41_4E_AF.128"
      }
      playback.props = {
        node.name = "bt-mic-left-only"
        media.class = "Audio/Source"
      }
    }
  }
]
-
david
- Site Admin
- Posts: 422
- Joined: Sat May 21, 2016 7:50 pm
-
david
- Site Admin
- Posts: 422
- Joined: Sat May 21, 2016 7:50 pm
Re: void linux mate qemu and Pipewire with Bluetooth Support install
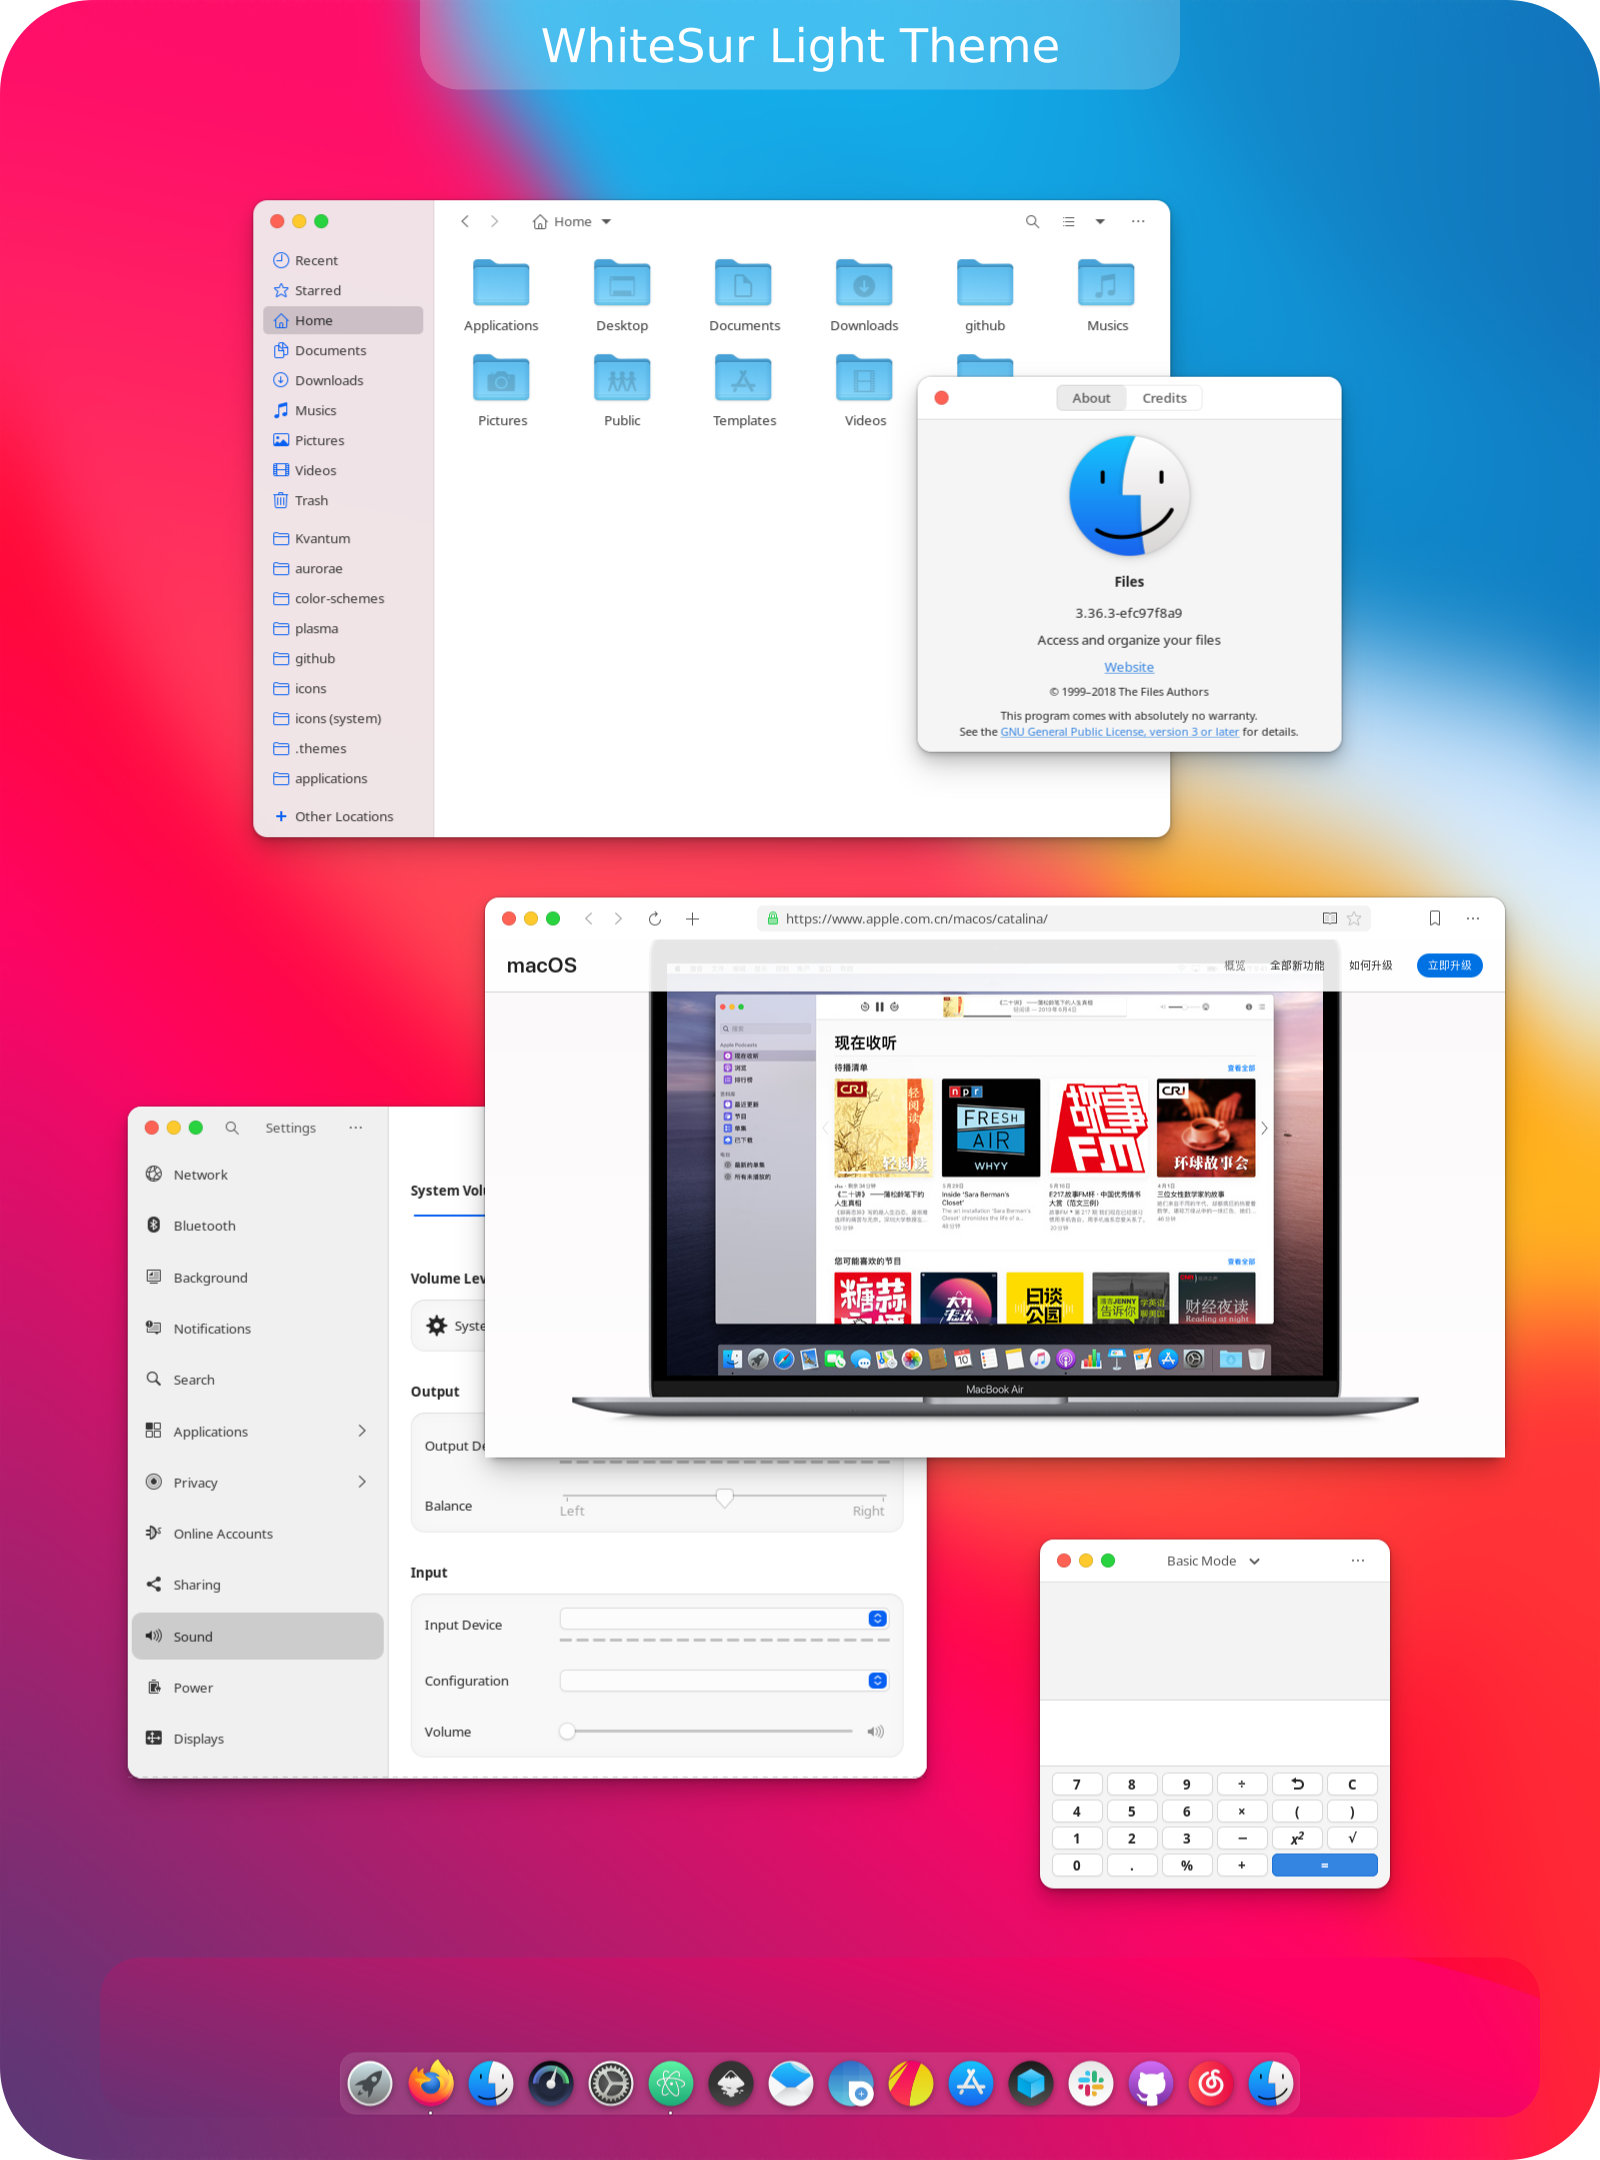
One amazing Theme for mate desctop !
BigSur-Dark (WhiteSur Gtk Theme)
https://www.mate-look.org/p/1403328
BigSur-Dark (WhiteSur Gtk Theme)
https://www.mate-look.org/p/1403328
-
david
- Site Admin
- Posts: 422
- Joined: Sat May 21, 2016 7:50 pm
-
david
- Site Admin
- Posts: 422
- Joined: Sat May 21, 2016 7:50 pm
Re: void linux mate qemu and Pipewire with Bluetooth Support install
If you have amd gpu on your void linux here is 4k enable script.
Want 4k on your TV but text on Mate desktop is too small ? Here is 4k and 1080p switch script for your TV.
You can edit 1080p understand option to fit your TV better :
Code: Select all
xrandr --newmode "3840x2160_60.00" 594.00  3840 4016 4104 4400  2160 2168 2178 2250  +hsync +vsync
xrandr --addmode HDMI-A-1 "3840x2160_60.00"
xrandr --output HDMI-A-1 --mode "3840x2160_60.00"
xrandr --output HDMI-A-1 --set underscan off
Code: Select all
#!/bin/bash
# HDMI display name
OUTPUT="HDMI-A-1"

# Modeline for 4K@60 (CEA spec)
MODE4K="3840x2160_60.00"
MODELINE4K='594.00 3840 4016 4104 4400 2160 2168 2178 2250 +hsync +vsync'

# Ask user
echo "Select display mode:"
echo "1) 1080p @ 60Hz"
echo "2) 4K @ 60Hz"
read -rp "Enter choice [1-2]: " choice

if [ "$choice" = "1" ]; then
    echo "Switching to 1080p..."
    xrandr --output "$OUTPUT" --mode 1920x1080 --rate 60
    # Apply underscan for 1080p
    xrandr --output "$OUTPUT" --set underscan on --set "underscan hborder" 80 --set "underscan vborder" 40
    # Normal DPI
    gsettings set org.mate.font-rendering dpi 96
    # Remove GTK scaling
    export GDK_SCALE=1
    export GDK_DPI_SCALE=1
    echo "Done: 1080p with underscan applied."

elif [ "$choice" = "2" ]; then
    echo "Switching to 4K@60..."
    # Add 4K mode if missing
    if ! xrandr | grep -q "$MODE4K"; then
        xrandr --newmode "$MODE4K" $MODELINE4K
        xrandr --addmode "$OUTPUT" "$MODE4K"
    fi
    xrandr --output "$OUTPUT" --mode "$MODE4K"
    # Remove underscan for 4K
    xrandr --output "$OUTPUT" --set underscan off
    # Increase DPI for better readability
    gsettings set org.mate.font-rendering dpi 192
    export GDK_SCALE=2
    export GDK_DPI_SCALE=0.5
    echo "Done: 4K@60 with HiDPI scaling."

else
    echo "Invalid choice."
    exit 1
fi
Code: Select all
xrandr --output "$OUTPUT" --set underscan on --set "underscan hborder" 80 --set "underscan vborder" 40